

我们以专业的精神 生产一流锂电池产品
聚合物锂离子电池(3C数码电池、电子烟电池及高倍率电池)的设计、生产、销售为一体的高新技术企业
了解更多
设计、生产、销售为一体的高新技术企业
...
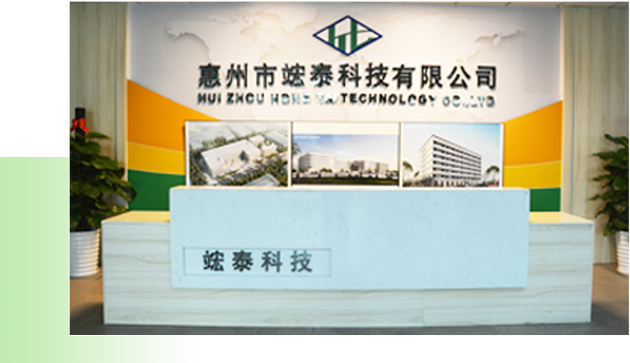
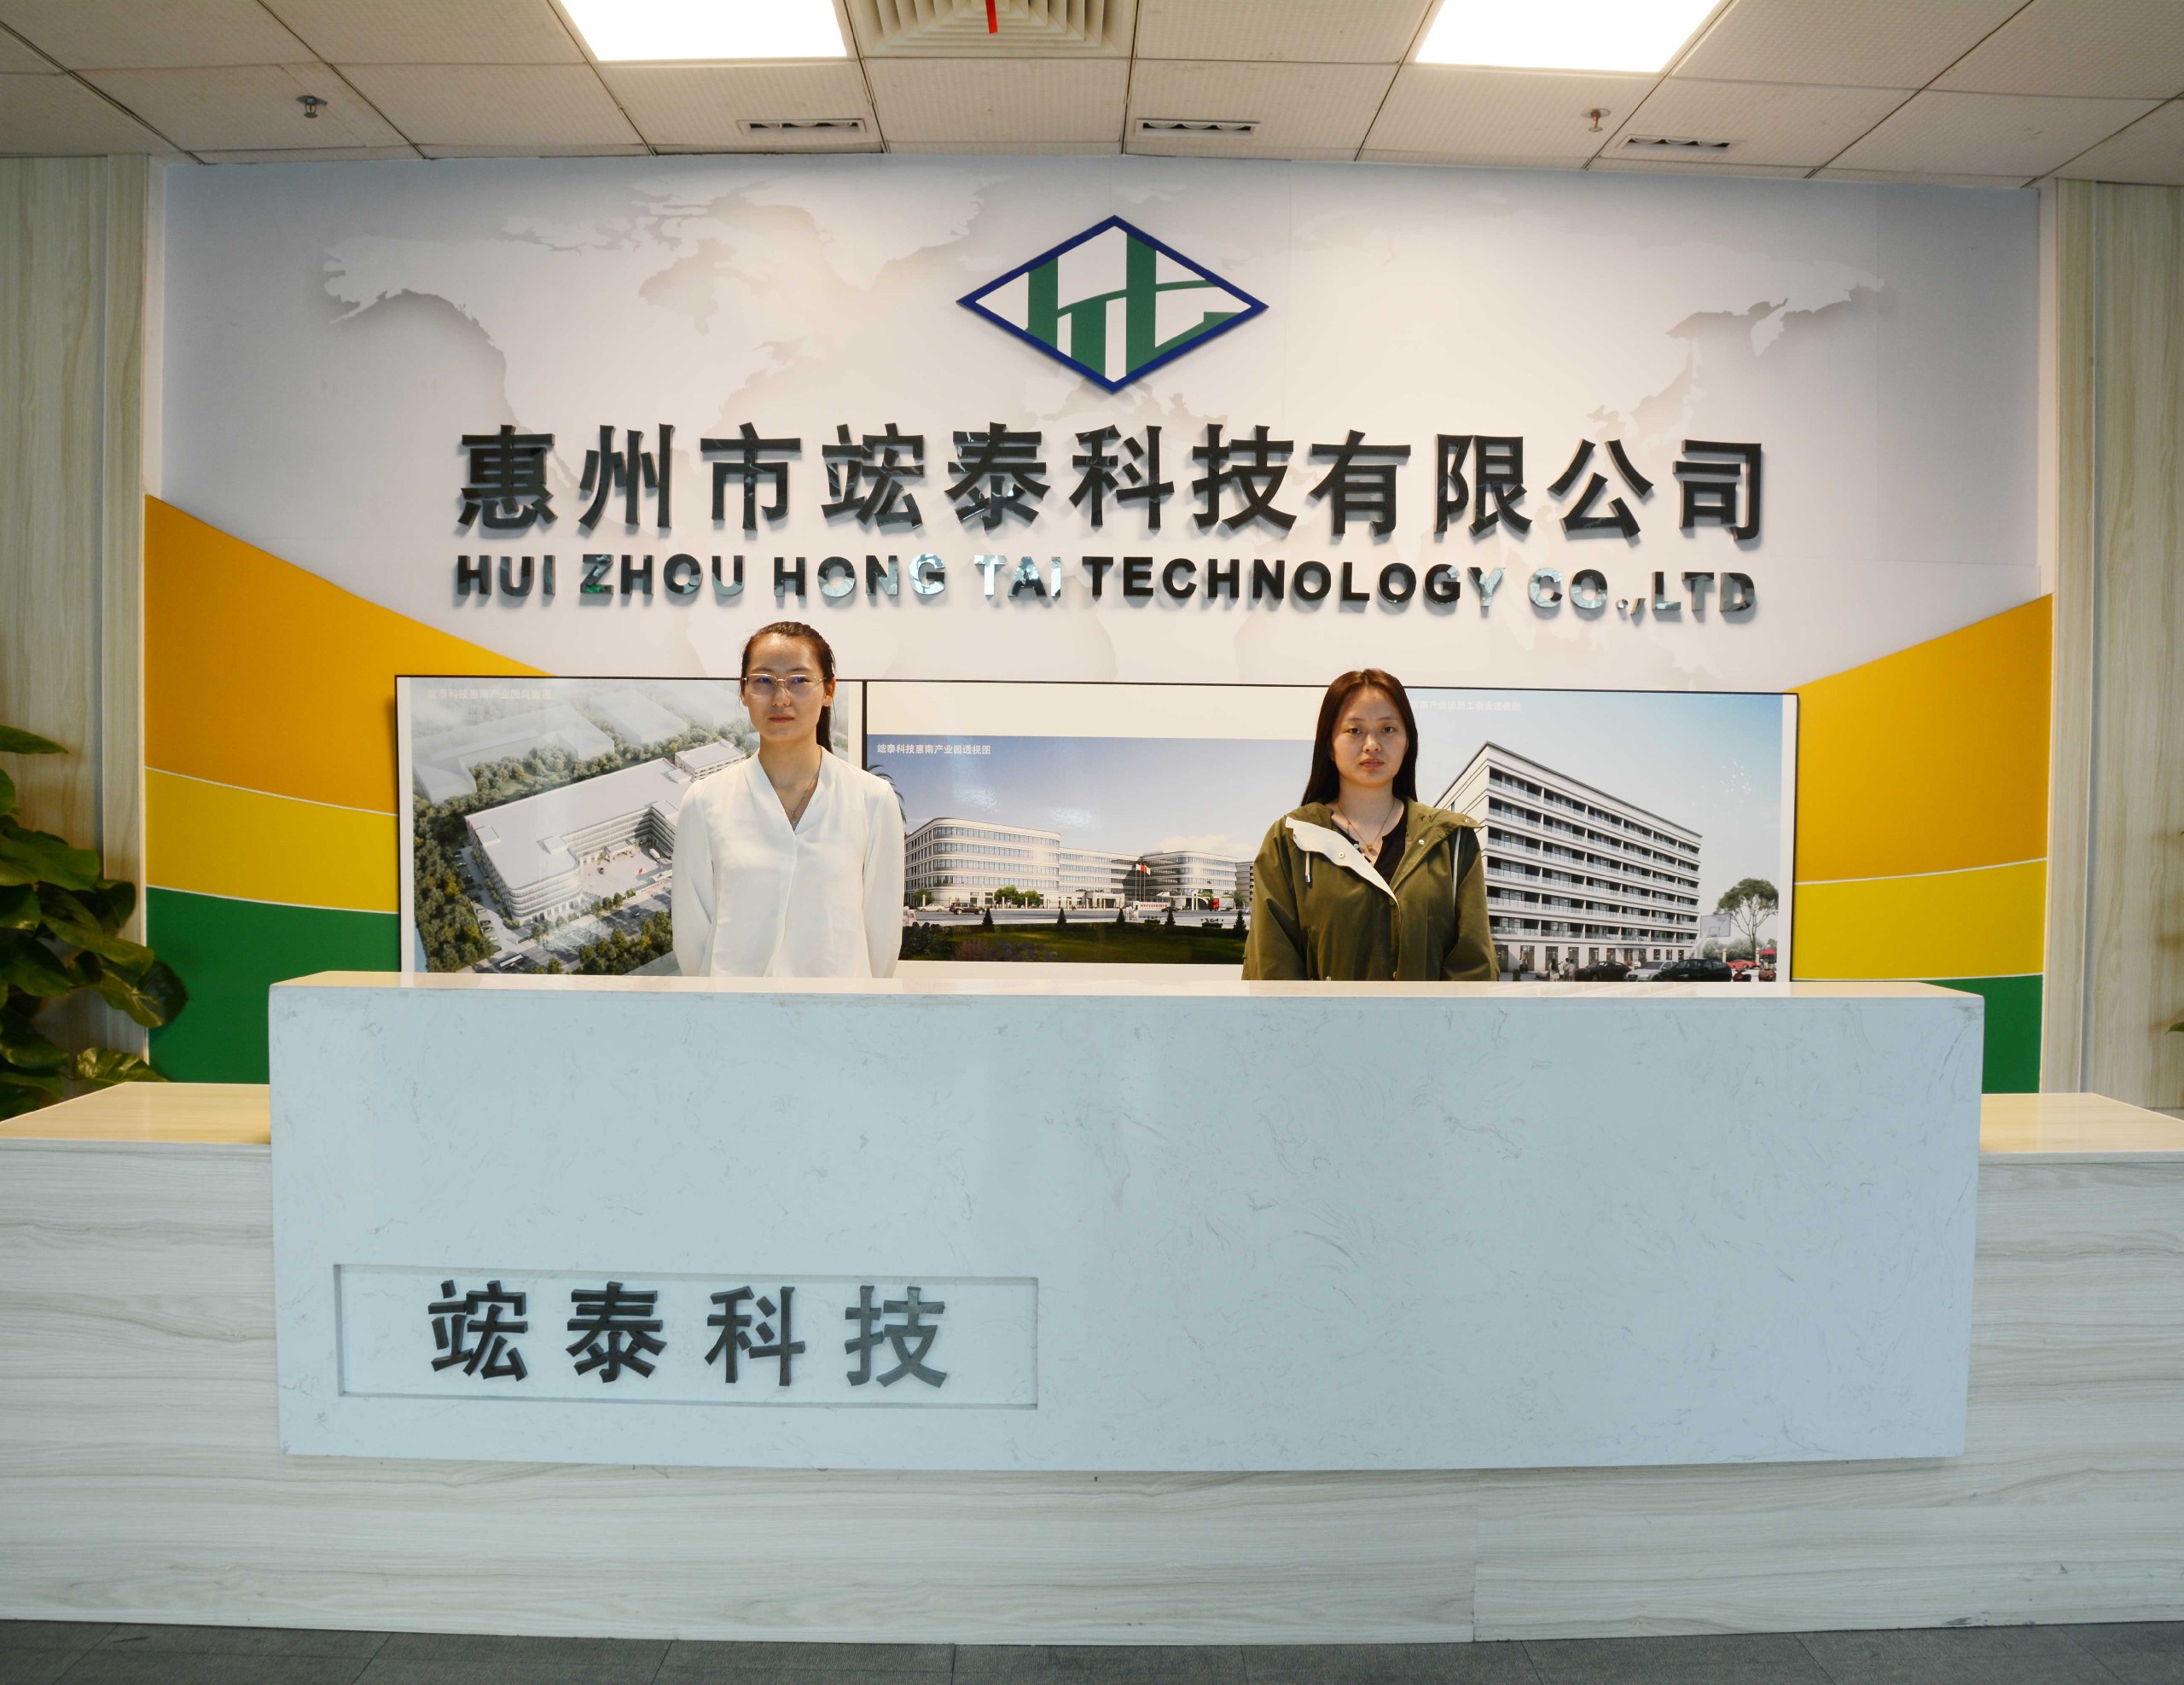
九游官方网站是一家从事聚合物锂离子电池(3C数码电池、电子烟电池及高倍率电池)的设计、生产、销售为一体的高新技术企业。公司以“成为受人尊敬的锂电池制造商”为愿景,以“精芯制造,持续改善,诚信服务,客户至上”为经营方针,拥有一批锂电行业资深的技术人员和管理人员,建立了有效的质量保证体系。

精芯制造

诚信服务

客户至上
做到质量保量,且产品可追溯
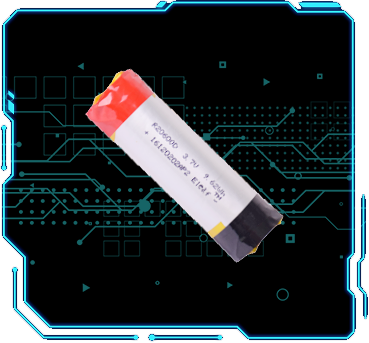
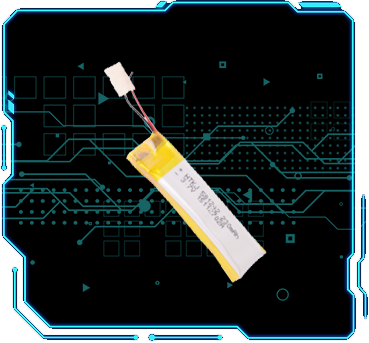

倍率电池

数码电池

蓝牙电池
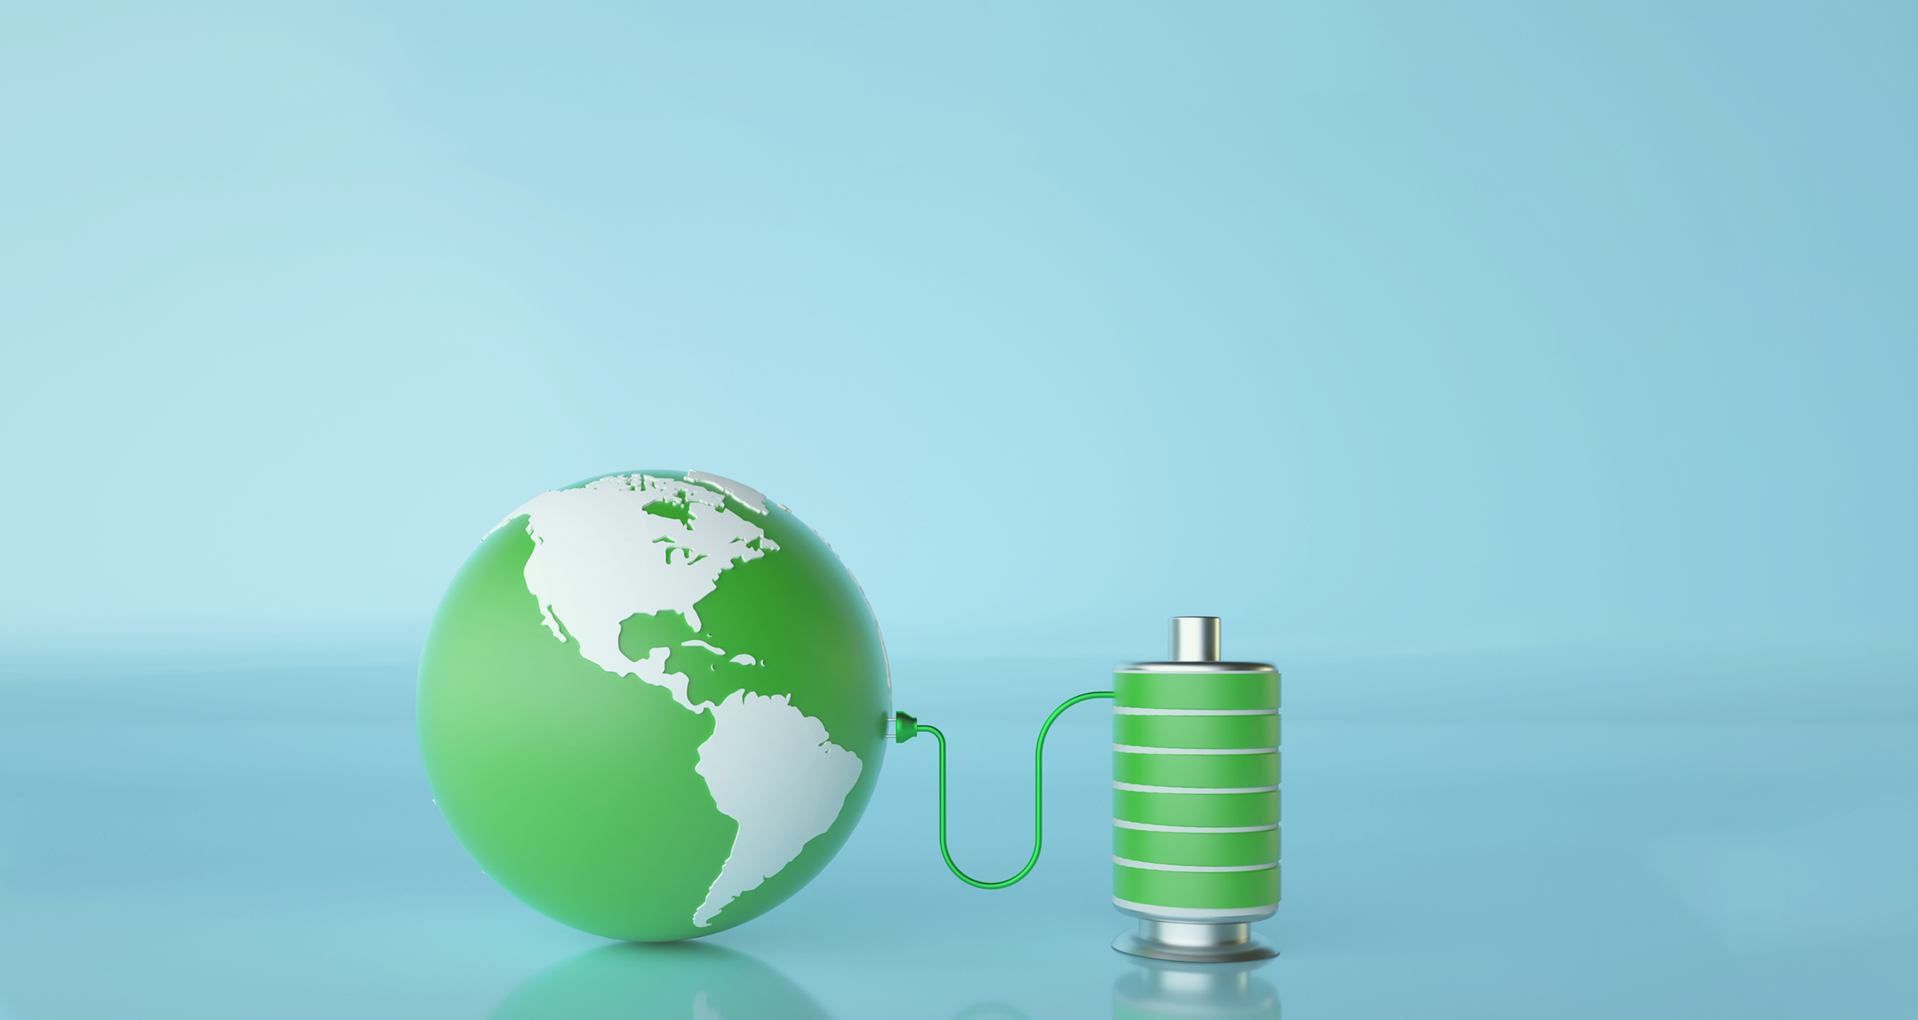
为客户提供安全可靠的锂电池
沉淀电池行业8载
产品技术领先 实力雄厚
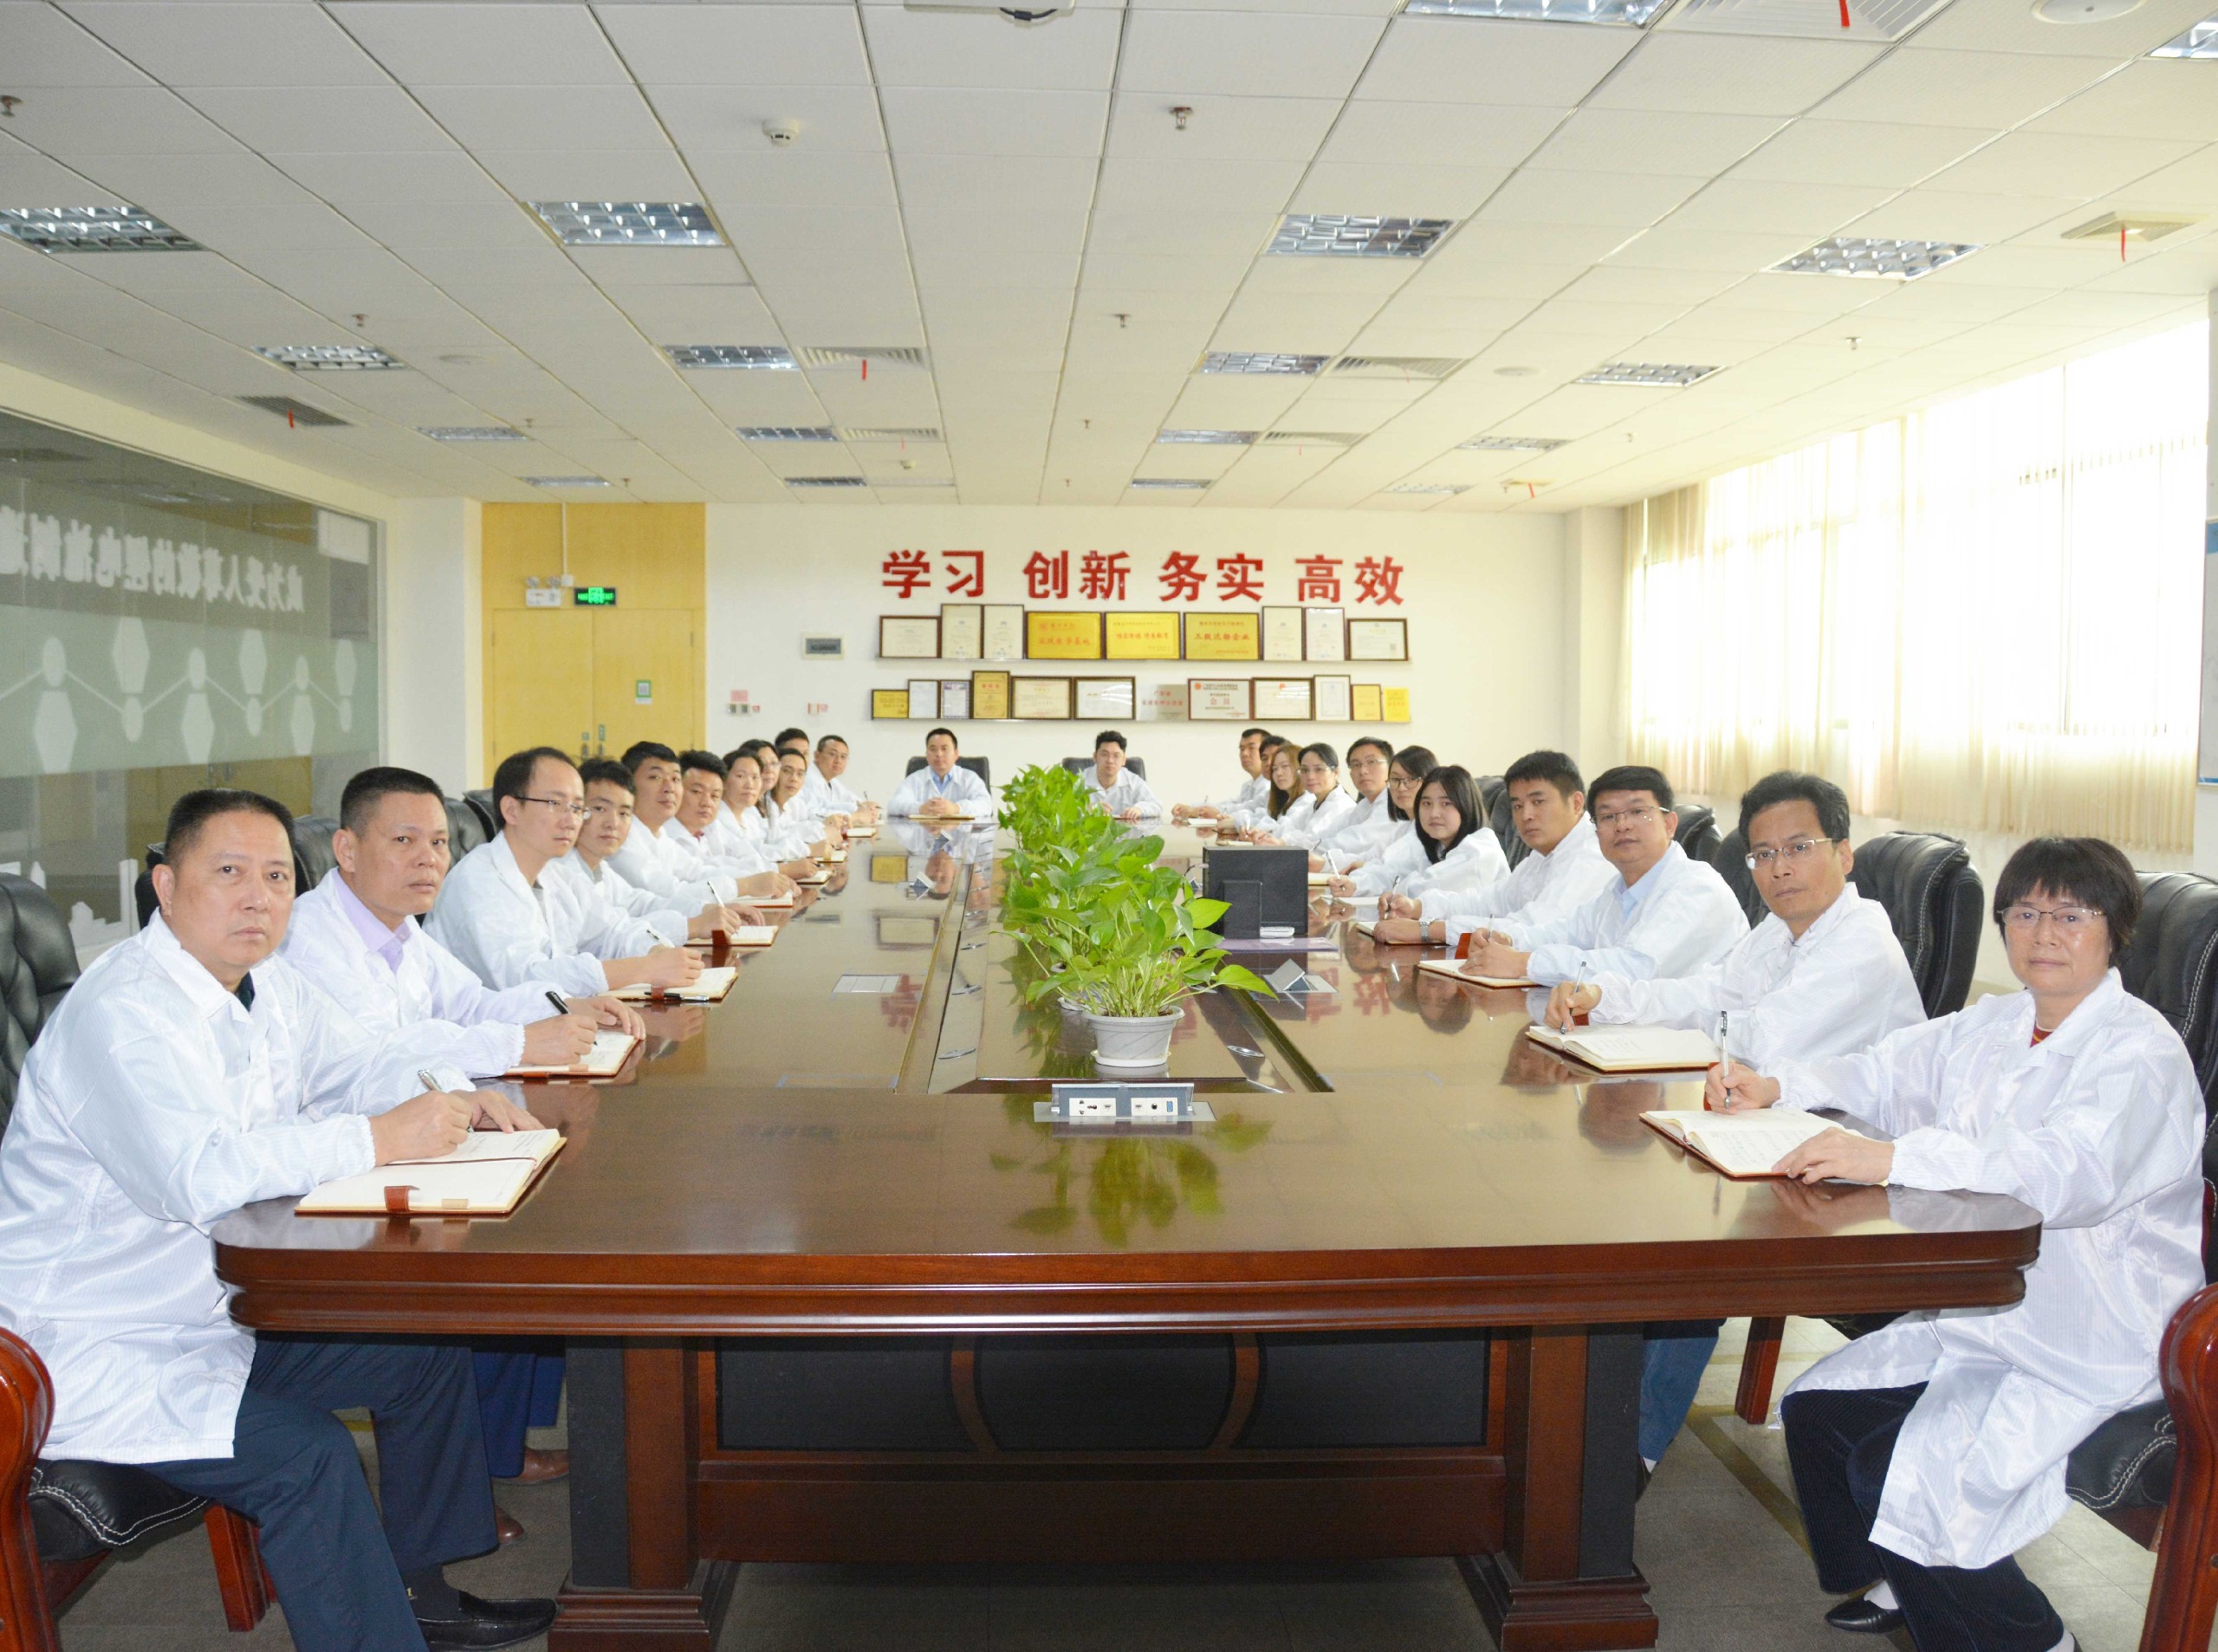
⊙独立研发团队,多项核心专利
⊙团队管理成员均为行业高素质人才,多年的丰富经验
⊙镍氢电池国家标准修订单位,参与多项锂电池行业国家标准的制定
沉淀电池行业8载
产品技术领先 实力雄厚
⊙独立研发团队,多项核心专利
⊙团队管理成员均为行业高素质人才,多年的丰富经验
⊙镍氢电池国家标准修订单位,参与多项锂电池行业国家标准的制定
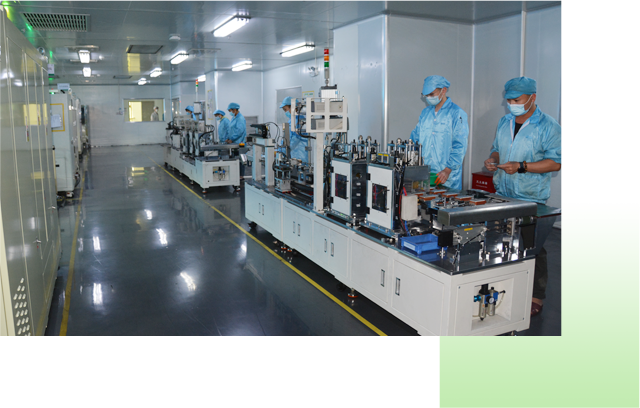
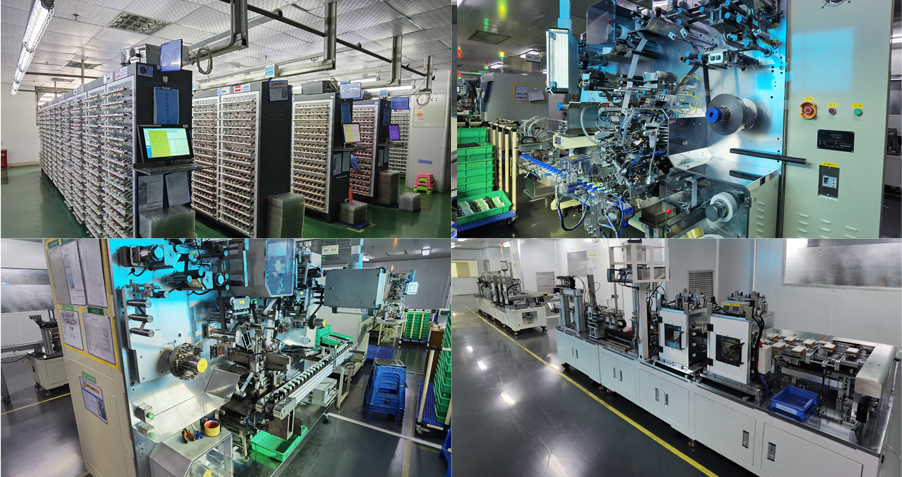
一流自动化设备和现代化生产线 平均每天100万颗电池下线
⊙配备现场工程师对生产效率持续改进,经验丰富的管理团队,确保快速交货能力
⊙现代化智能工厂利用各种现代化的技术,减少出错率,可大规模生产
实现工厂办公管理及生产自动化

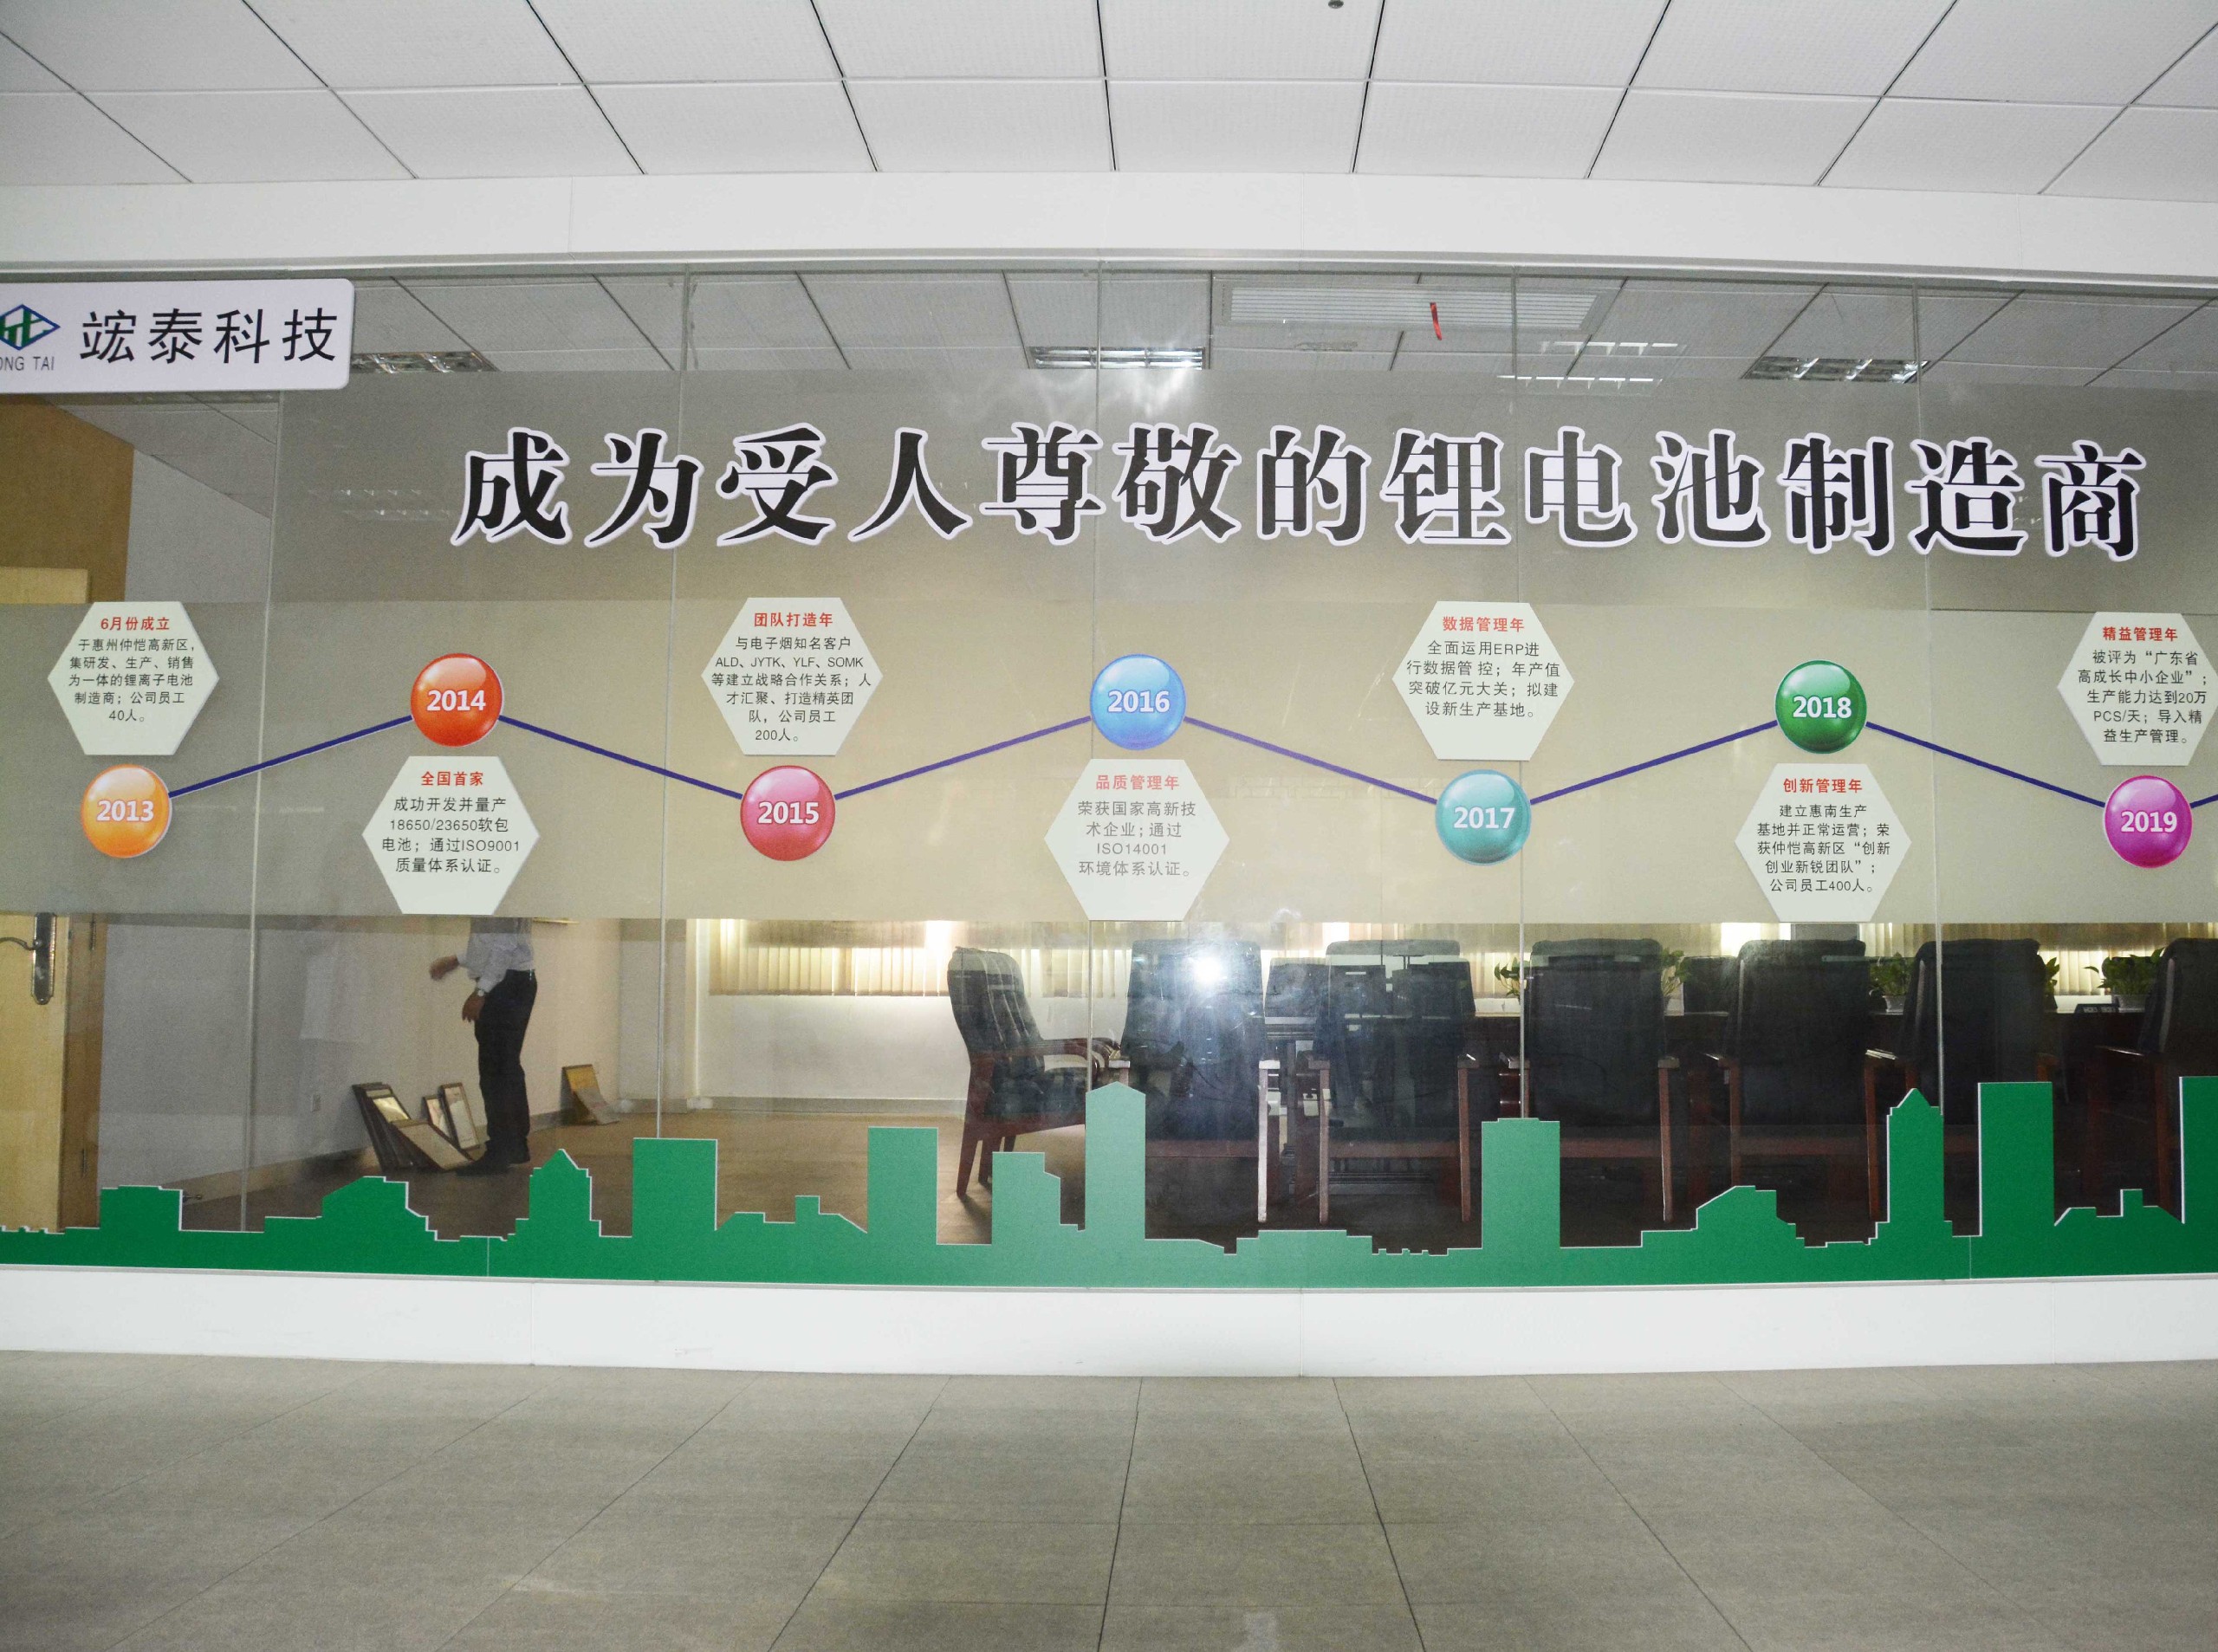
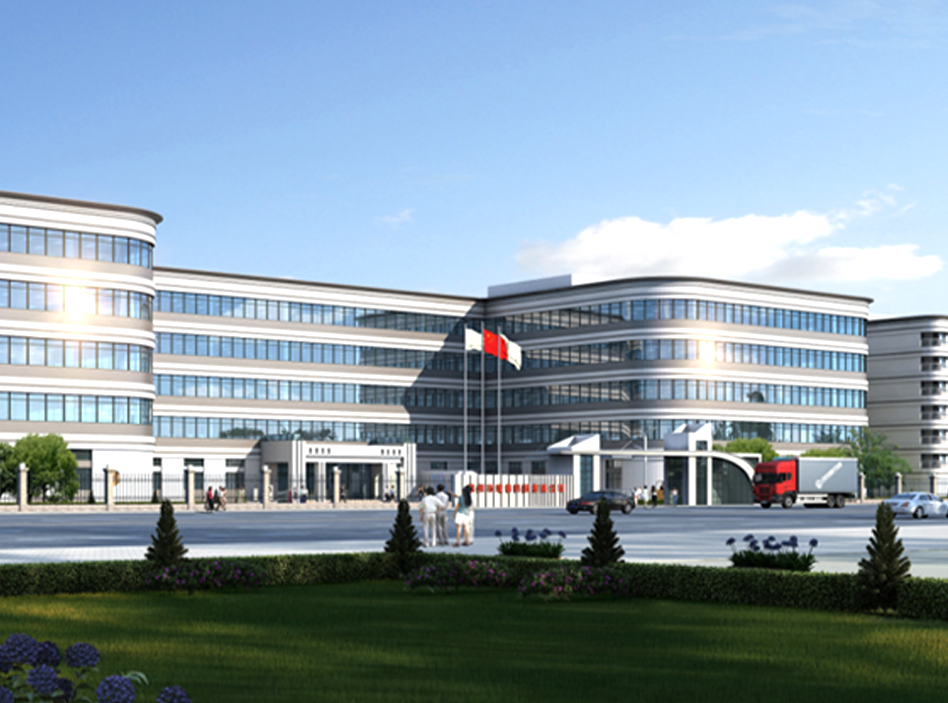
2020年,公司成功摘得一块锂电池工业园用地,项目占地:22000平方米,建筑面积:60000万平方米,我们将引进现代一流自动化设备和现代化生产线,打造现代化智能工厂,预计2021年底竣工并于2022年5月正式投入使用;建成后每天可产80~100万颗、年产约3亿颗锂电池,公司将迎来高速发展!
填写好您的信息将会有专业人员联系您报价
填写好您的信息将会有专业人员联系您方案
值得信赖的锂电池制造商

 邮箱:HT@HZHTKJ.CN
 地址:惠州市仲恺高新区惠南高新科技产业园木沥路2号

官方微信

手机官网
官方微信
手机官网
邮箱:HT@HZHTKJ.CN
地址:惠州市仲恺高新区惠南高新科技产业园木沥路2号
© 2021 九游官方网站 版权所有
![]() 粤icp备20211989号-1
粤icp备20211989号-1
技术支持:有象互联
© 2021 九游官方网站 版权所有
![]() 粤icp备20211989号-1
粤icp备20211989号-1
技术支持:有象互联